


Table of Contents
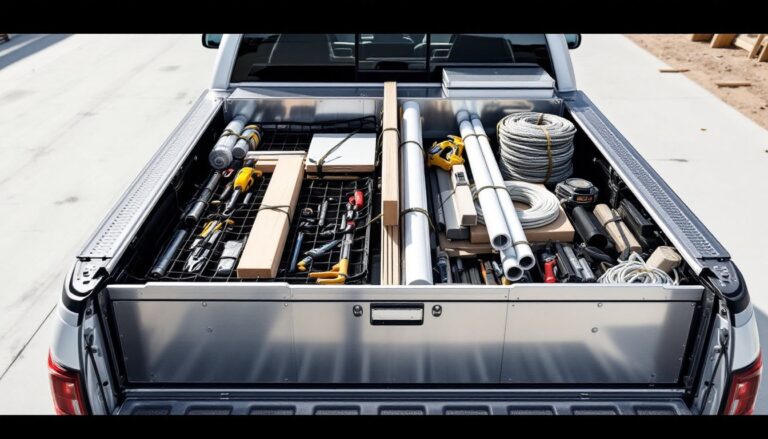
ToggleA packed trailer becomes a headache when you can’t find your drill, miter saw, or socket set without moving everything around. Trailer tool storage doesn’t have to mean chaos. The right setup, combining wall-mounted racks, shelving, and smart layout planning, transforms a cramped cargo space into a functional workshop on wheels. Whether you’re hauling equipment to job sites, storing seasonal gear, or organizing a mobile workshop, smart storage keeps your tools accessible, protected, and ready to use. This guide walks you through practical trailer tool storage solutions that maximize space and keep everything within arm’s reach.
Key Takeaways
- Trailer tool storage using wall-mounted pegboards, shelving, and cabinets transforms a cramped cargo space into an organized, efficient workshop on wheels.
- Proper organization protects your tool investment by preventing damage from moisture, dust, and UV exposure during transport and storage.
- Position heavy items low and toward the trailer’s center to maintain weight distribution stability, and keep frequently used power tools within arm’s reach of the front.
- Install wall-mounted racks 16 inches from the floor with secure mounting into trailer framing, and consider ceiling-mounted systems for seasonal or rarely-used items.
- Secure valuable equipment with tie-down straps, use lockable cabinets, label everything, and apply protective coatings like WD-40 to prevent rust and theft.
- A well-designed trailer tool storage system saves time on job sites, builds professional credibility, and requires starting with just a pegboard and shelving unit rather than expensive custom builds.
Why Smart Trailer Tool Storage Matters for DIY Projects
A disorganized trailer wastes time before projects even start. You’re rifling through boxes, moving stacked items, or realizing you left a wrench back home. Proper storage cuts that friction. When tools hang in view or sit on labeled shelves, you grab what you need in seconds and move on to the actual work.
Beyond convenience, good storage protects your investment. Tools stored loosely roll around during transport, chipping edges and dulling blades. They get exposed to dust, moisture, and UV light, all enemies of metal and battery life. A dedicated trailer with wall organization, protective covers, and climate control prevents rust and premature wear. You’ll spend less on tool replacement and repairs.
Finally, an organized trailer looks professional. If you’re running side jobs or a small business, a clean, well-organized trailer builds client confidence. It signals competence and care.
Essential Storage Options for Trailers
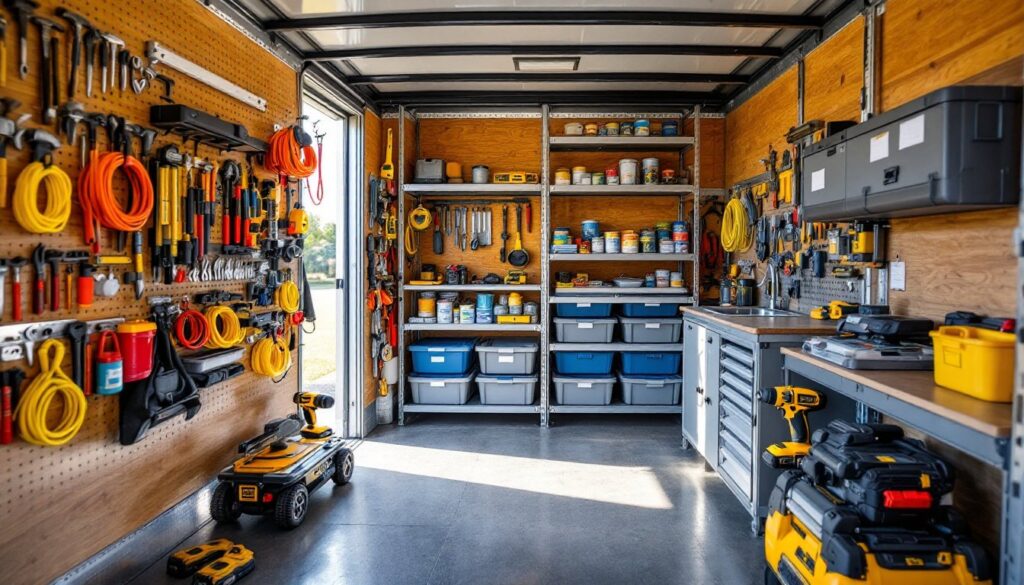
Wall-Mounted Racks and Pegboards
Wall-mounted storage is the workhorse of trailer organization. A pegboard, also called hardboard, is a punched sheet that accepts hooks, shelves, and brackets. It’s inexpensive (often $20–$40 per sheet), lightweight, and infinitely configurable. Screw a sheet to the trailer’s interior studs, add hooks and clips, and hang hand tools, cords, levels, and measuring tapes. You can see everything at a glance.
For heavier items, cordless drills, impact drivers, circular saws, wall-mounted racks designed for tool organizers offer sturdier support. Heavy-duty steel or plastic racks bolt to framing and handle 50+ pounds per shelf. They take up minimal floor space and keep gear eye-level. Pegboards work best for hand tools: purpose-built racks suit power tools and heavier equipment.
Install pegboard 16 inches from the floor to avoid kicking it or tripping over hanging items. Secure mounting: use lag bolts or heavy-duty anchors into trailer framing, never just drywall screws. One trailer tip that often gets missed, mount one pegboard on each long wall so you’re not reaching across the trailer or crouching.
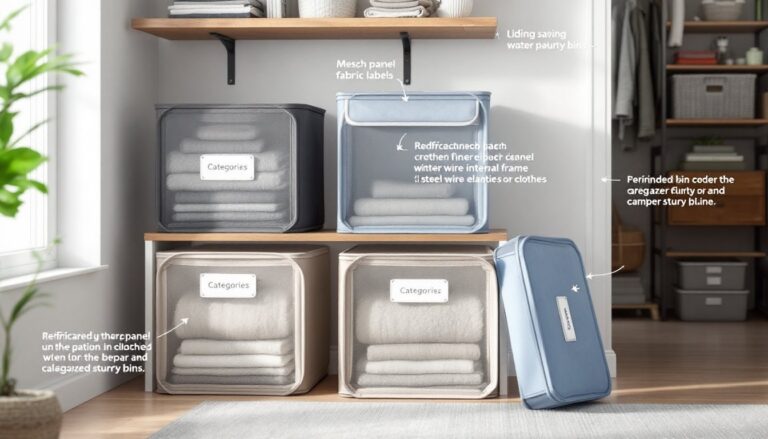
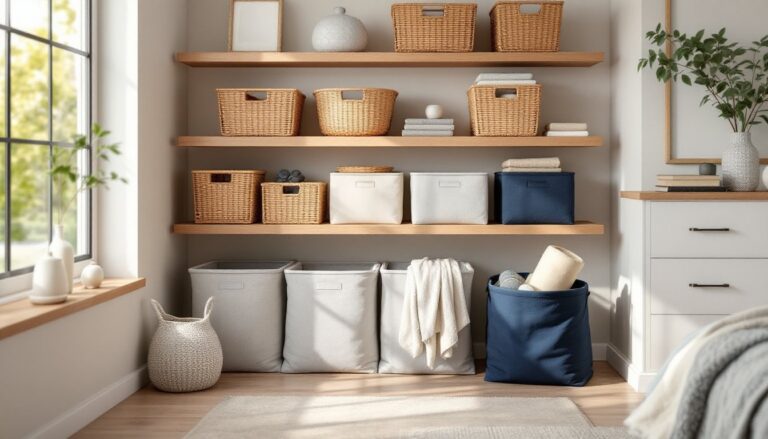
Shelving Systems and Cabinets
Shelving maximizes vertical space and works well for bin storage, paint cans, and supplies. Steel shelving units designed for garages and trailers (often four-tier, 48 inches tall) are cost-effective. A 48-inch unit costs $80–$150 and holds 200–500 pounds per shelf depending on frame strength. Unlike pegboards, shelving lets you store items in bins or boxes, keeping clutter hidden and dust out.
Custom cabinet installation, whether simple plywood boxes or pre-made steel cabinets, offers the most weatherproofing. Sealed cabinets protect tools from moisture, dust, and UV damage. If your trailer will sit outdoors for weeks, cabinet storage beats open racks. A basic lockable steel tool cabinet (like a 24-inch-wide combo) costs $150–$300 but safeguards expensive power tools from theft and weather. Larger modular cabinet systems run $500+, but they’re modular, so you add sections as your needs grow. Cabinets also provide a cleaner, more professional appearance, useful if the trailer’s appearance matters for your business.
For trailers with limited wall space, overhead storage using ceiling-mounted racks or hanging systems keeps rarely-used items (seasonal tools, back-up batteries, extension cords) out of the way. Just be careful not to block overhead clearance for tall equipment like ladders.
Planning Your Trailer Layout for Maximum Efficiency
Start by measuring your trailer’s interior, length, width, height, and the location of existing studs or framing. Mark rough spots where items will hang or sit. Draw a simple layout on paper or use a digital tool. Group tools by category: hand tools (hammers, chisels, wrenches), power tools (drills, saws), fasteners (screws, nails, bolts), and consumables (paint, caulk, sandpaper).
Position the heaviest items low and toward the trailer’s center, just behind the axle. A 50-pound air compressor sitting high or at the tongue throws weight distribution off-balance and makes the trailer sluggish or unstable. Low, centered weight keeps towing stable. Power tools and cordless drill sets should be within arm’s reach of the trailer’s front, the area you’ll access first when loading or grabbing gear.
Leave at least a 24-inch-wide aisle down the trailer’s middle if it’s wider than 6 feet. You’ll need space to move around and reach items at the back. If you store tall items like ladders or bar clamps, lean them along one wall behind mounted racks rather than standing them upright: upright leaning costs floor space and makes them tip-prone during transport.
Consider weight limits carefully. Most single-axle trailers handle 3,500–5,000 pounds total: dual-axle trailers, 7,000+ pounds. Tools alone won’t exceed limits on a typical enclosed trailer, but if you’re also storing lumber, concrete, or equipment, weigh your full load. An unbalanced or overloaded trailer becomes a safety liability and may violate local regulations.
Securing and Protecting Your Tools
Storage organization means nothing if tools shift, get stolen, or corrode. Secure heavier equipment with nylon straps or bungee cords rated for your trailer’s weight. A pegboard full of hand tools won’t shift, but a 40-pound miter saw on a rolling base needs restraint. Use tie-down loops bolted into the floor, and always secure before hitting the road.
Theft prevention: install a lockable door on your trailer if it doesn’t have one, and use a padlock on any storage cabinets. Mark expensive tools, stamp your phone number into the plastic housing of drills, impact drivers, and saws. A $400 tool that’s easily identifiable is less attractive to thieves than an anonymous one.
Moisture and rust: enclose as much as possible. Open pegboards expose tools to rain-blown moisture. If your trailer parks outdoors, prioritize cabinets or hang a breathable tarp inside (not touching tools, moisture gets trapped). Store rechargeable batteries in a cool, dry box away from metal tools that might short them. Silica gel packets in storage bins pull humidity. For long-term storage (winter), spray hand tools lightly with WD-40 or a thin oil to prevent rust.
Temperature matters less than you’d think, but extreme cold damages lithium-ion batteries. If your trailer sits in subzero temperatures, store rechargeable batteries indoors. One insight from the best truck bed organizers is that coated steel and aluminum resist corrosion far better than bare steel, if buying new cabinets, look for powder-coated finishes.
Label everything. Use a label maker or permanent marker to tag shelves, bins, and pegboard hook positions. When you’re tired or working in dim light, labels save frustration. You’re not being fussy: you’re protecting a significant investment and saving yourself hours of searching.
Conclusion
Trailer tool storage doesn’t require a fancy custom build. A pegboard, a shelving unit, and sensible weight distribution get most DIYers 90% of the way there. Start small, add one storage solution at a time as you see what works. Keep heavy items low and centered, lock up valuable equipment, and protect everything from moisture. A well-organized trailer saves time, protects your tools, and makes every project start on the right foot. Get it set up now, and you’ll feel the difference on your next job.