

Table of Contents
ToggleGardening tools scattered across the garage floor, handles poking into your shins, rust creeping up the blades, it’s a story every homeowner knows too well. The good news? You don’t need to hire a contractor or spend a fortune on storage solutions to fix it. With a few materials and a weekend’s worth of work, you can build or install a DIY garden tool storage system that’s tailored to your space and your tools. Whether you’ve got a sprawling shed or just a corner of the garage, the right storage approach keeps your tools organized, protected from the elements, and actually accessible when you need them.
Key Takeaways
- DIY garden tool storage systems protect your tool investments from rust and weathering while extending their lifespan by years with minimal cost and effort.
- Wall-mounted pegboard and magnetic strips offer the fastest way to organize frequently used tools and reclaim garage floor space for just $15–$25 per pegboard setup.
- Vertical storage using bins, shelves, and stackable containers keeps small tools and seasonal items organized while maintaining clear floor space for work and equipment.
- A custom 8×6 garden tool shed provides maximum protection and organization but requires checking local zoning laws, proper foundation, and costs between $800–$2,000 for a complete DIY build.
- Rust prevention and regular maintenance—wiping blades, applying light oil, ensuring proper ventilation, and seasonal organization—keeps your DIY storage system functional long-term with minimal effort.
Why Proper Tool Storage Matters
Before diving into solutions, it’s worth understanding why tool storage isn’t just about tidiness. Garden tools are investments. A quality shovel, pruning shears, or hoe costs real money, and leaving them exposed to rain, sun, and temperature swings accelerates rust, wood rot, and dulling. Proper storage extends tool life by years.
There’s also the safety angle. Tools stacked haphazardly become tripping hazards and can damage surrounding items, or fingers, if someone reaches for a rake and gets stabbed by its tines instead. Organized storage keeps sharp edges, points, and heavy handles where they belong. And there’s the efficiency factor: when every tool has a home, you spend less time hunting for the right carry out and more time in the garden.
Finally, a tidy tool area transforms how you use your garage or shed. Instead of stepping around clutter, you’ve got clear floor space and quick access to what you need. Even modest organization systems pay dividends in frustration avoided.
Simple Wall-Mounted Storage Systems
Wall-mounted solutions are the fastest way to reclaim floor space and keep tools visible and accessible. They work best for frequently used tools, the ones you grab several times a week.
Pegboard And Hook Solutions
Pegboard (also called hardboard with holes) is the workhorse of DIY storage. It’s cheap, forgiving, and endlessly configurable. A standard 4-foot by 8-foot sheet costs $15–$25, and wall-mounted hooks run $0.50–$2 each depending on load rating and finish.
Start by finding the studs in your wall using a stud finder, don’t skip this step. Mount the pegboard horizontally to at least two studs using lag bolts or wood screws (3 inches long, spaced 16 inches apart). Leave about 1.5 inches of space behind the board so hooks can grip properly. Paint the pegboard first if you want it to blend with your garage aesthetic: it’s easier than painting around installed hooks.
Arrange hooks strategically: larger tools like shovels and rakes need sturdy hooks rated for 25–50 pounds: smaller hand tools can hang from lighter hooks. Leave breathing room, crowded pegboards become tangled nightmares. For tools with irregular shapes (like pruning shears with curved handles), j-hooks or ladder hooks work better than straight pegs.
Pro tip: Take a photo of your final layout and save it on your phone. If you need to reorganize later, you’ve got a reference.
Magnetic Strips And Metal Racks
Neodymium magnetic strips are perfect for metal hand tools, pruners, snips, utility knives, and small files. A 12-inch strip costs $8–$15 and mounts directly to the wall or pegboard using screws. The magnetic pull is strong enough to hold most garden shears securely, and grabbing a tool is faster than unhooking it from a peg.
For a more robust option, consider wall-mounted metal racks or wire grids (similar to pegboard but with a metal grid instead of holes). These accept a wider variety of clip-style hooks and baskets, making them versatile for odd-shaped items. They’re slightly pricier ($30–$60 for a decent 4-foot rack) but handle heavier loads and look cleaner in finished spaces.
If your wall is concrete or you can’t locate studs easily, adhesive-backed metal strips or heavy-duty racetrack-style systems offer an alternative, though they won’t hold as much weight. Always test adhesion on a scrap of your wall material first and allow full cure time (usually 24 hours) before loading tools.
Budget-Friendly Container And Bin Ideas
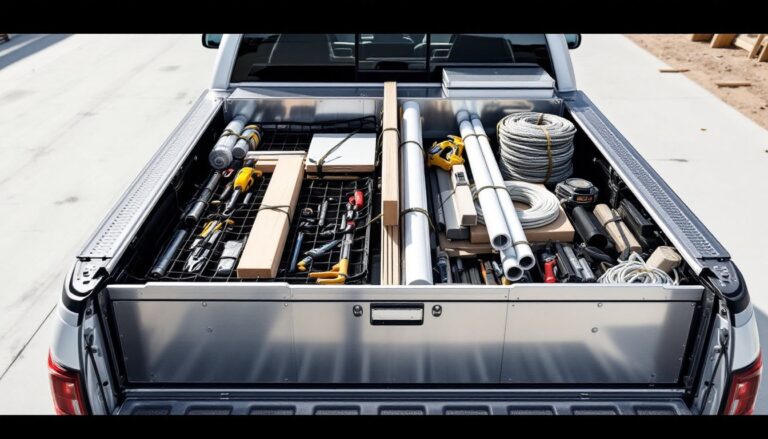
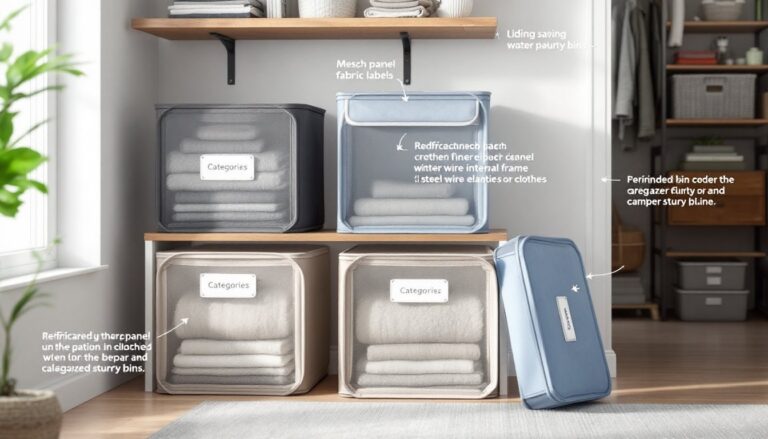
Not every tool works on a wall. Long hoses, bags of fertilizer, knee pads, and seasonal items need floor or shelf storage. Containers and bins are your answer, and the budget-friendly route doesn’t mean settling for flimsy.
Start with 5-gallon plastic buckets, the kind contractors use everywhere. They’re $3–$5 each, stackable, durable, and hold small tools, gloves, twine, and hardware. Grab a few and label them with waterproof tape or a marker. For hand tools, a milk crate-style plastic bin ($2–$4 at most hardware stores) works equally well and offers better visibility since the sides are semi-transparent.
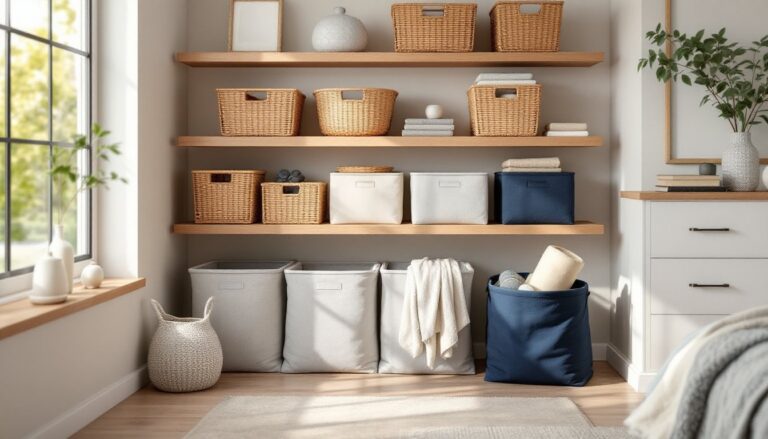
For larger items, galvanized steel trash cans (20–30 gallon capacity) or plastic storage totes with lids offer weather protection for seasonal gear. These typically cost $15–$30 and stack neatly in a corner. Line them with a bit of cardboard or kraft paper to prevent condensation and keep contents dry.
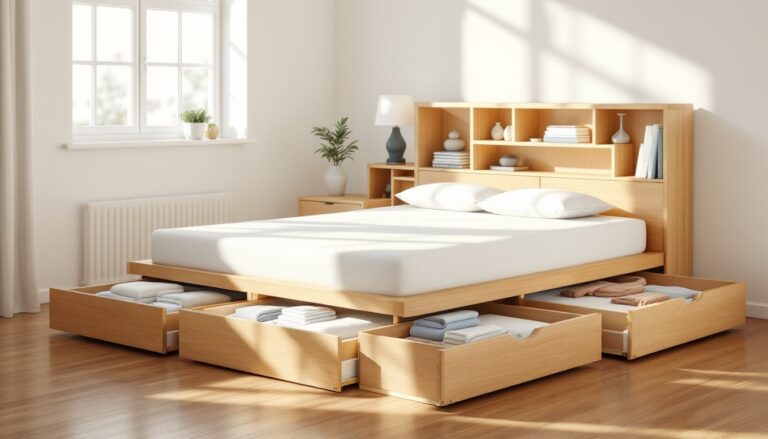
The trick is to go vertical. Instead of lining up bins on the floor, install wall shelves or floating shelves (DIY or pre-made) to stack bins at eye level. This keeps the floor clear for a wheelbarrow or working space and makes grabbing what you need faster. A basic 24-inch floating shelf costs $20–$50 and can hold 50+ pounds if mounted to studs properly.
Don’t overlook pegboard baskets either. Wire or plastic baskets ($5–$15 each) attach to pegboard and corral smaller loose items, seed packets, small pots, plant ties, without taking up individual hooks. This lets your wall setup do double duty: hooks for large tools, baskets for miscellaneous gear.
Building A Custom Garden Tool Shed
If you’re ready to go bigger, a small dedicated tool shed gives you the most control and protection. Nothing fancy required, a simple 8-foot by 6-foot structure is enough for most homeowners.
Before you build, check local zoning laws and building codes. Many jurisdictions require a permit for sheds larger than 100–120 square feet or if the shed will house hazardous materials (pesticides, fuel). Some municipalities have setback requirements (how far from property lines) or foundation rules. A quick call to your building department saves headaches later. Steps found on <a href="https://instructables.com”>instructables.com cover various DIY shed builds if you need detailed guidance.
For the foundation, a concrete pad (4 inches thick) is best for moisture control and longevity. A pier foundation (concrete blocks set into the ground) works if a full pad isn’t feasible. Avoid a gravel-only base, water pools and tools rot faster.
Frame the walls with pressure-treated lumber (2×4 studs, 16 inches on center) to resist rot. Roof it with corrugated metal panels or asphalt shingles for weather protection. Insulation isn’t necessary unless you’re storing temperature-sensitive items (like paint or fuel cans), but good ventilation is, add a vent or two to prevent mold and humidity buildup.
Inside, install simple wooden or metal shelving using L-brackets and lumber or metal shelving kits. Pegboard or wall-mounted racks (same as described earlier) work great for hand tools. Add a workbench if space allows, a simple 2×4 frame with a plywood top gives you a spot to clean and sharpen tools.
Budget-wise, a basic 8×6 shed with concrete pad, framing, roofing, and interior shelving runs $800–$2,000 depending on material choices and whether you DIY labor. If your skill level is intermediate or higher, this is doable over several weekends. If you’re unsure about framing or roofing, hire the structural parts and finish the shelving yourself to save money.
Maintenance Tips For Long-Lasting Storage
Once your storage system is in place, keeping it functional takes minimal effort.
Rust prevention is your main ally. Wipe tool blades with an old cloth after use, especially after wet work. If you notice surface rust, a quick scrub with steel wool or a wire brush removes it before it spreads. For tools stored for months (winter or off-season), light oil on blades and metal handles goes a long way. 3-in-1 oil or even old cooking oil works: don’t overthink it.
Wooden handles benefit from occasional oil too. Tung oil or linseed oil prevents cracking and keeps wood from becoming brittle. Apply it once or twice a year, just a light coat, wiped dry so it doesn’t get sticky.
Keep moisture out by ensuring your shed or storage area has airflow. Crack a window, install a vent, or leave a small gap in the door in warm months. If condensation builds up, it accelerates rust and mold. A small desiccant bag or container of calcium chloride ($5–$10) absorbs excess humidity, the kind sold for closets works fine.
Organize seasonally. Every spring and fall, do a quick tally of what’s in your bins and on your racks. Return items to the wrong bins, move rarely used tools to less accessible storage, and promote frequently used ones to arm’s reach. This keeps your system working for you instead of against you.
Finally, inspect and sharpen blades as part of regular maintenance, not just when storage trips you up. A dull shovel or pruner frustrates you in the moment and encourages poor technique that can lead to injury. Sharp tools are safer tools. Professional sharpening services cost $5–$15 per tool, but a whetstone ($10–$30) lets you maintain edges at home if you’re comfortable with the skill. Your tools and your back will thank you.