


Table of Contents
ToggleGarage clutter doesn’t happen overnight, it sneaks up on you, one box at a time. Before long, your car’s relegated to the driveway and you’re stepping over lawn equipment just to reach the wall. Building DIY garage storage shelves is one of the fastest ways to reclaim that space without dropping thousands on custom systems. With basic tools and affordable materials, you can install shelving that holds hundreds of pounds while keeping everything visible and accessible. This guide walks you through the entire process, from choosing the right design for your garage to fastening the last shelf.
Key Takeaways
- DIY garage storage shelves cost just $250–$450 to build compared to $2,000–$5,000+ for custom cabinetry, making them an affordable way to reclaim garage space.
- Install wall-mounted shelves by fastening 2×4 support posts directly into wall studs using ¼” × 3″ lag bolts, which safely handle 300–500 pounds per shelf depending on span and fastener quality.
- Heavy-duty shelving designs should include 2×10 or 2×12 lumber for shelves and diagonal 2×4 bracing at 45° angles to prevent sagging and improve rigidity over time.
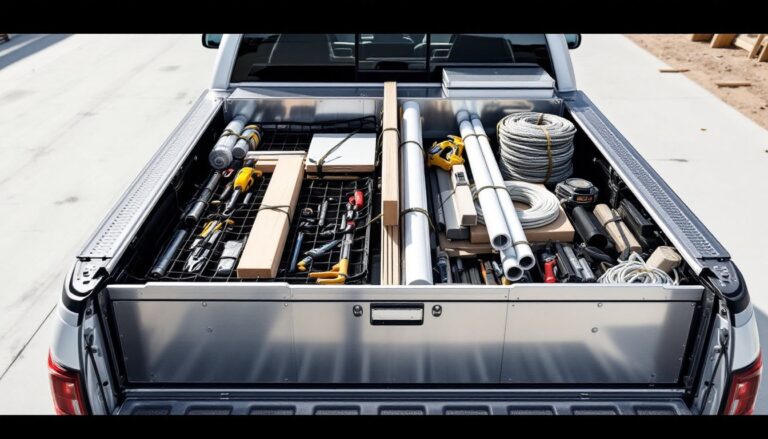
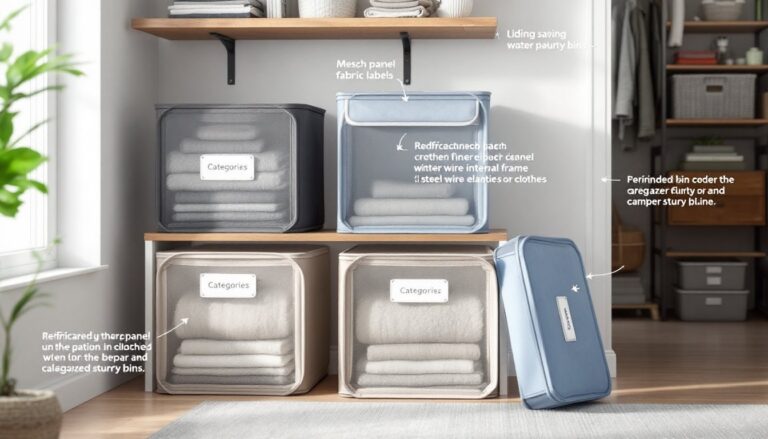
- Keep frequently used items at eye level and waist height on your shelves, and use clear plastic storage totes with labels to maintain organization and prevent duplicate purchases.
- Always locate and mark wall studs with a stud finder before installation, check that shelves are level (not just parallel to the floor), and recheck all bolts and fasteners after an hour as wood can shift.
- Painting or staining shelves with primer and semi-gloss paint protects wood from moisture, prevents splinters, and extends the durability of your DIY garage storage system.
Why Garage Storage Shelves Are Worth Building
A garage is only as useful as its layout. Without proper shelving, you’re fighting a losing battle against clutter, and losing money too. Sprawled items take up floor space that should be reserved for parking or working. Custom cabinetry costs $2,000 to $5,000+ installed: shelving you build yourself runs $200 to $600 for a robust, multi-unit system.
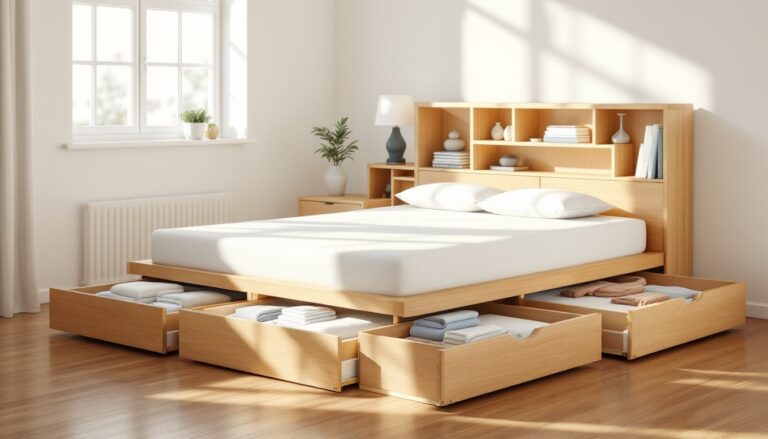
Beyond the budget win, DIY shelves let you design for your stuff. Need shallow shelves for paint cans? Done. Deep shelves for storage totes? Easy. You control the height, width, and weight capacity. Once they’re up, you’ll find tools faster, remember what you actually own, and stop buying duplicates buried in the back.
Building shelves also teaches foundational skills, measuring, fastening to studs, checking level, that transfer directly to other home projects. It’s not complicated work, but it builds confidence and gives you a real sense of ownership when you’re organized.
Tools and Materials You’ll Need
Tools:
• Drill with Phillips head and 3/16″ bits
• Level (24–48″ is ideal for shelves)
• Tape measure
• Saw (circular or miter: a hand saw works but is slower)
• Pencil and stud finder
• Square (for marking perpendicular lines)
• Wrench or socket set (for lag bolts, if used)
• Safety glasses, work gloves, and a dust mask
Materials for a 3-shelf unit (roughly 8′ long, 24″ deep):
• 2×10 or 2×12 lumber (actual depth ~9.5″ or 11.5″) for shelves, four 8′ boards
• 2×4 lumber (actual 1.5″ × 3.5″) for vertical supports and bracing, six 8′ boards
• ¾” plywood as an alternative to solid wood (lighter, budget-friendly)
• Bolts or L-brackets: ¼” × 3″ lag bolts with washers if fastening to studs: steel shelf brackets if going wall-mounted
• Drywall anchors (heavy-duty toggle bolts) if shelves won’t align with studs
• Wood screws: 2.5″ deck screws for joining framing, 1.25″ pocket hole screws if using Kreg Jig
• Primer and paint (optional but recommended for wood protection)
Total material cost typically ranges from $250–$450, depending on wood grade and fastener choice. Pressure-treated lumber costs more upfront but resists moisture and rot, a smart choice if your garage has humidity issues.
Choosing the Right Shelf Design for Your Space
Heavy-Duty Shelving Options
If you’re storing heavy items, engines, stacked toolboxes, or cases of paint, shelves need a load-bearing frame. The workhorse design uses 2×4 vertical posts anchored to wall studs, with 2×10 or 2×12 shelves spanning horizontally and supported on each end. This setup safely handles 300–500 pounds per shelf, depending on span and fastener quality.
For added support on deep shelves, run a 2×4 brace perpendicular to the wall at the center of the span: this prevents sagging over time. Cross-bracing between verticals also stiffens the unit and keeps shelves from racking (twisting out of square).
Another option is open-frame shelving with diagonal knee braces. It looks neater and is easier to build if you’re comfortable with angled cuts. Many DIYers find free DIY furniture plans online that show this framing in detail.
Wall-Mounted vs. Freestanding Shelves
Wall-mounted shelves anchor directly into studs, giving you full weight capacity and solid stability. The trade-off: you’re committing to that location, and you’ll hit studs and electrical wiring in the wall, something you must verify with a stud finder and by tapping cautiously.
Freestanding shelves stand on the floor and bolt to the wall at the top for safety. They’re moveable and don’t require stud-hunting, but they eat floor space and max out at lower weight limits (typically 200–300 pounds per shelf). Freestanding units work best for lighter items or if you want flexibility.
For most garage setups, wall-mounted is the practical choice, it reclaims floor space and uses dead wall space efficiently. If your garage wall is masonry or steel, anchoring is more involved: you’ll need concrete anchors or a masonry drill bit.
Step-by-Step Installation Guide
1. Find and Mark the Studs
Locate wall studs with an electronic stud finder, starting near a corner. Mark the center of each stud with a pencil at the height where your first shelf will sit. Studs are typically spaced 16″ on center (OC). Measure to confirm, this is not guesswork.
2. Measure and Mark Shelf Locations
Decide how far apart shelves will be. 18–24″ spacing works for most stored items. Use a level to draw a light horizontal line at each shelf height, ensuring each line is actually level (not just parallel to the floor). A sloped garage floor will fool you.
3. Install Vertical Support Posts
Cut 2×4 posts to height (measure floor to ceiling minus about ½” for adjustment). Position the first post so it fastens to studs at each shelf height. Drill pilot holes for lag bolts through the post into the stud. Use ¼” × 3″ lag bolts with washers, torquing them hand-tight plus a quarter-turn more, don’t strip them. Install the second post at least 6 feet away (closer is okay for heavy loads). Check plumb with your level: adjust shims if needed.
4. Install Shelves
Cut shelves to your desired length (subtract 1–2″ to avoid binding). For shelves longer than 4 feet, use 2×10 or 2×12 lumber, not thinner stock. Place each shelf on top of the 2×4 posts or on bolted L-brackets. Align the front edges so they’re flush and level. Fasten shelves to posts with 2.5″ deck screws (two per corner) or bolts if your posts have mounting holes.
5. Add Diagonal Bracing (Optional but Recommended)
If shelves feel springy or you’re storing very heavy loads, cut a 2×4 brace at a 45° angle and bolt it from the top of a post to the center of the next post down. This dramatically improves rigidity.
6. Level Check and Tightening
Place your level on each shelf and adjust until dead level. Recheck all bolts and fasteners: they may have loosened from handling. An hour after installation, check again, wood can shift slightly as fasteners settle.
Many builders follow detailed tutorials from The Handyman’s Daughter for additional confidence on fastening techniques. If you’re unsure about wall studs or anchoring to your specific wall type (concrete, block, metal studs), that’s the point to stop and consult a contractor or your local building department.
Maximizing Storage Capacity and Accessibility
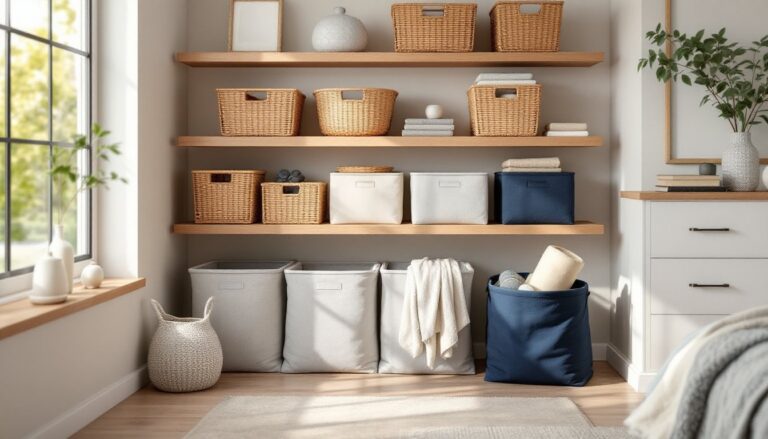
Shelving is only half the solution, how you use the space determines whether you’ll actually stay organized. Keep frequently used items at eye level and waist height: save upper and lower shelves for seasonal or rarely accessed gear. Don’t stack items three-deep: one or two deep maximum ensures you can grab what you need without moving everything.
Label shelves clearly with a label maker or painter’s tape, “Power Tools,” “Fasteners,” “Seasonal.” You’ll police the system better if finding a home for something is obvious. Vertical dividers (thin plywood or PVC pipe) prevent bins from sliding and keep categories separated.
Use clear plastic storage totes for visibility. You’ll actually remember what’s inside without opening them. Opaque bins hide mistakes: clear ones shame you into staying tidy. Shelves rarely stay organized on their own, your system only wins if it’s friction-free to put things back.
For a deeper jump into home storage strategy, resources like Home Storage Solutions: Transform offer broader organizing frameworks beyond shelving alone. Paint or stain shelves for durability and a cleaner look, bare wood splinters and darkens over time. A basic coat of primer and semi-gloss paint protects against moisture and makes cleaning easier.
Consider ventilation if your garage sits in a damp climate. Perforated shelf material allows air circulation and prevents musty-smelling dead zones. Finally, overload testing is tempting to skip but critical: if you’re storing that 80-pound table saw, double-check that shelves handle it before loading them fully.