

Table of Contents
ToggleShoes pile up fast. Between everyday sneakers, work heels, seasonal boots, and weekend sandals, a typical household can accumulate dozens of pairs that eat up closet space and clutter entryways. The good news? Hidden shoe storage doesn’t mean sacrificing style or accessibility. Whether you’re working with a small apartment or a sprawling closet, there are practical solutions that tuck shoes away neatly while keeping them within arm’s reach. This guide walks through seven proven approaches to hidden shoe storage that’ll help you reclaim your space and stay organized.
Key Takeaways
- Hidden shoe storage solutions like under-bed organizers, floating shelves, and ottomans can reclaim closet and entryway space while keeping shoes accessible and dust-free.
- Store shoes vertically (heel-to-toe or standing upright like books) rather than stacked horizontally to maximize space and prevent creasing on delicate materials.
- Declutter before organizing—most people keep 30-50% more shoes than they actually wear, so removing unused pairs significantly reduces your storage needs.
- Maintain shoe condition by storing in cool, dry environments between 50-70°F and using cedar blocks or baking soda sachets to control odor and moisture.
- Leave 15-20% empty space in any storage system to allow for seasonal rotation and reorganization without cramping or damaging your footwear.
Under-Bed Shoe Organizers
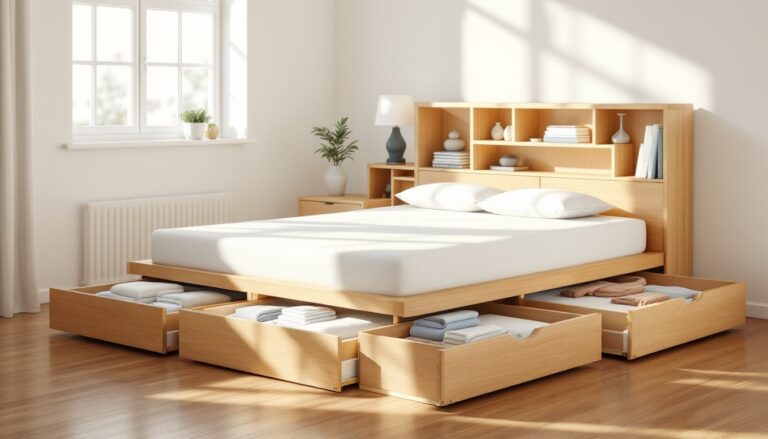
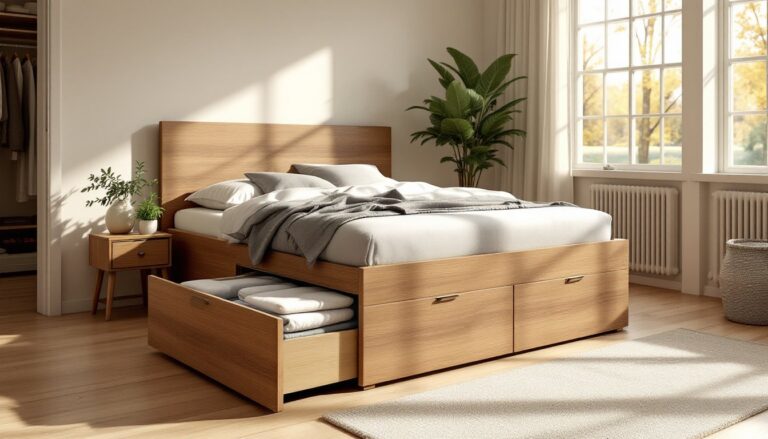
The space under your bed is prime real estate for shoe storage, and it’s often completely wasted. Under-bed organizers slide smoothly on low-friction flooring and keep shoes dust-free while remaining accessible without disrupting your bedroom’s appearance.
Flat Rolling Containers work best for this application. Look for models that are 3 to 4 inches tall with clear plastic fronts so you can see contents without opening. These typically hold 6 to 8 pairs per container and cost $15 to $30 each. The low profile slides easily under standard bed frames (which usually have 7 to 10 inches of clearance) and won’t create a tripping hazard.
Installation is straightforward: measure the space under your bed from head to foot, then from side to side. Account for carpet pile and ensure the container won’t bind when rolling. Most rolling organizers come with built-in wheels, verify they’re rated for your floor type. On hardwood or laminate, wheels glide without issue. On carpet, look for wheels with wider contact patches to prevent sinking.
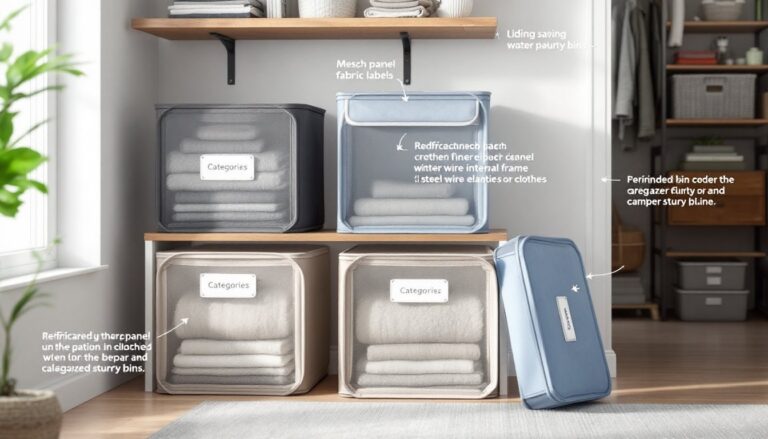
Store shoes heel-to-toe or in pairs to maximize space. For seasonal rotation, label the front of each container with permanent marker or printed labels. This system keeps shoes accessible during your everyday routine while hiding them from view when guests arrive.
Wall-Mounted Floating Shelves and Racks
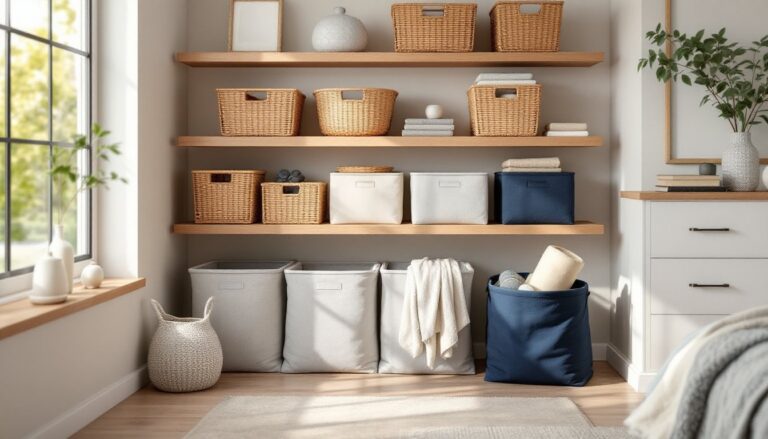
Wall-mounted shelves turn dead space into functional display storage and work particularly well in entryways, hallways, or the upper reaches of closets. This approach balances accessibility with a clean aesthetic, shoes are hidden at eye level but fully visible and organized.
Choosing the Right Shelf: Standard floating shelves range from 12 to 48 inches wide and 10 to 12 inches deep. For shoes, a 12-inch depth accommodates most footwear without protruding. Weight capacity matters: a solid wood shelf rated for 50+ pounds can hold roughly 8 to 10 pairs comfortably. Mount shelves between studs (typically 16 inches on center) or use heavy-duty toggle bolts if anchoring to drywall alone.
Installation requires basic tools: a stud finder, drill, level, and appropriate fasteners. Locate studs with an electronic stud finder, mark the mounting holes, drill pilot holes, and secure the bracket. Use a 4-foot level to ensure the shelf sits perfectly horizontal, shoes will slide off even a slightly tilted shelf. Install shelves 12 to 14 inches apart vertically: this spacing accommodates most athletic shoes and casual footwear while allowing room to view what’s stored.
Styling and Organization: Pair matching bins or risers on each shelf to corral pairs and prevent toppling. Many DIYers use IKEA Hackers for creative modification ideas, stacking narrow shelves or adding dividers is achievable with basic materials and fasteners. Avoid overcrowding: a shelf that holds shoes three-deep becomes difficult to access, and you’ll end up digging to find what you need.
Ottoman and Bench Storage
Ottomans and storage benches hide shoes while serving double duty as seating or a surface for setting down bags and jackets. This approach works best in bedrooms, entryways, or living rooms where a piece of functional furniture naturally fits the décor.
Selection and Placement: Storage ottomans come in two main styles, lift-top (hinged lid on top) and under-frame storage (enclosed base with open interior). Lift-tops are more accessible but can be heavy when full of shoes: under-frame models are lighter to move but require bending to retrieve items. Standard dimensions run 18 to 24 inches wide by 14 to 18 inches tall. Measure your space before purchasing to ensure it doesn’t block pathways or feel cramped.
Maximizing Capacity: Store shoes vertically (heel-to-toe, standing up) rather than stacked horizontally. This arrangement fits roughly 12 to 16 pairs in a standard ottoman and makes it easier to grab a specific pair without toppling the rest. Add a flat divider or shelf inside if your ottoman’s interior is one large cavity: this prevents shoes from shifting and protects the lining.
Care Consideration: Ensure shoes are clean and dry before storing inside. Leather and suede benefit from a quick wipe with a soft cloth: damp or soiled shoes can damage upholstery and create odors. For an extra layer of organization, use Real Simple methods for decluttering before storage, store only shoes you actually wear, and rotate seasonal styles monthly to prevent moisture buildup.
Built-In Closet Systems
Custom closet systems offer the most permanent, efficient solution for hidden shoe storage. These installations transform a closet’s full depth and height, and they’re worth the investment if you plan to stay in your home long-term.
System Options: Wire shelving kits ($80–$300) are budget-friendly and modular. Solid wood or MDF (medium-density fiberboard) systems ($300–$1,500+) provide a finished look and greater stability. Many systems include pull-out drawers, specialized shoe racks, and adjustable shelves that maximize square footage. Compare configurations before purchasing: measure your closet width, depth, and height, then sketch a layout to ensure shoes will fit where you want them.
Installation Depth: Most shoe storage requires just 10 to 12 inches of depth, but closet shelves often run the full 24-inch depth of a standard closet. This arrangement works well, place shoes in the front 12 inches and use the back portion for other items. Double-height shelf dividers (mid-shelf vertical pieces) keep shoes from sliding backward and create visual organization.
Ventilation: Unlike enclosed storage, closet systems allow air circulation, which prevents moisture and mold on shoes. Leave a 1-inch gap between the back wall and any wire shelving: this spacing improves airflow and makes cleaning easier. If humidity is high in your climate, a small closet dehumidifier (available at most hardware stores for $30–$60) adds insurance against damage.
DIY vs. Professional: Installing a basic wire kit is a DIY-friendly weekend project. Solid wood systems often require professional installation, particularly if custom modifications or trim work is involved. Permits are rarely required for closet improvements unless you’re removing or relocating a door frame.
Door-Back and Over-The-Door Storage
Doors are often underutilized storage real estate. Over-the-door organizers and door-mounted racks maximize vertical space with zero additional installation, just hang a unit over any door, and you’re done. This solution is perfect for renters or anyone avoiding wall anchors.
Over-The-Door Shoe Racks: These typically hold 6 to 12 pairs in clear plastic pockets or fabric slots. Weight limits range from 20 to 50 pounds depending on the model. Installation is instant: hang the hanger rod or hooks over the top of the door frame. No tools needed. The main limitation is that the door must close smoothly with the organizer in place: test the swing before committing.
Shoe Bags and Hanging Organizers: Fabric shoe bags with 12+ compartments are another option. These hang from a closet rod, hook, or over-the-door bar and work well for storing dress shoes, sandals, or off-season boots. Prices range from $12 to $40 depending on material quality and compartment count. Clear plastic or mesh compartments let you see what’s stored without opening each pocket.
Considerations: Door-mounted storage shifts weight forward, which can stress door hinges over time, distribute weight evenly and avoid overloading. For high-traffic closets or bedroom doors, the added depth might feel obstructive. Also, retrieving shoes from pockets requires both hands and a moment of attention, so these work best for shoes you don’t grab multiple times daily. Over-the-door storage is ideal for guest bedrooms, kids’ rooms, or seasonal rotation.
Tips for Maximizing Your Shoe Storage Setup
Regardless of which storage method you choose, a few principles make any system more effective and long-lasting.
Inventory and Declutter First: Before building or buying, empty your shoes into a single pile. Be honest about what you actually wear. Shoes that pinch, are permanently scuffed, or sit unworn for a year should go. Studies on home organization suggest that people keep 30–50% more shoes than they actively wear. Decluttering first cuts your storage needs and makes organization easier.
Use Vertical Space: Stacking shoes heel-to-toe or shoe-to-shoe (sole-to-sole) wastes space. Standing them upright, like books on a shelf, uses height instead of depth and makes each pair visible at a glance. This arrangement also prevents creasing and deformation on delicate materials.
Label and Rotate: Use printed labels or markers to identify contents, especially for under-bed or ceiling-height storage where visibility is limited. Rotate seasonal shoes every 3 to 4 months, store winter boots up and out during summer, then swap for lighter footwear. This keeps only active pairs accessible and extends the life of less-worn styles.
Protect Shoe Condition: Store shoes in a cool, dry environment between 50–70°F if possible. Excessive heat or humidity degrades materials, particularly leather and rubber. Place cedar blocks or cotton sachets filled with baking soda in storage areas to control odor and moisture. Avoid plastic bags unless they’re breathable: trapped moisture causes mildew. For tutorials on organizing specific materials, Instructables hosts step-by-step guides on building custom shoe racks from wood and hardware.
Plan for Growth: Resist overstuffing any storage system. Leave 15–20% empty space so you can add shoes seasonally or reorganize without struggling. A cramped system becomes inefficient and prone to damage.
Conclusion
Hidden shoe storage is achievable at any budget and in any space. Start with your highest-priority pain point, if under-bed clutter bothers you, begin there. If your entryway needs a refresh, floating shelves or a storage bench might be the answer. The best system is one you’ll actually use, so choose an approach that matches your lifestyle and the shoes you genuinely wear. Once installed, maintaining your setup is simple: keep shoes clean and dry, rotate seasonally, and declutter annually. Your organized closet, entryway, and bedroom will thank you.